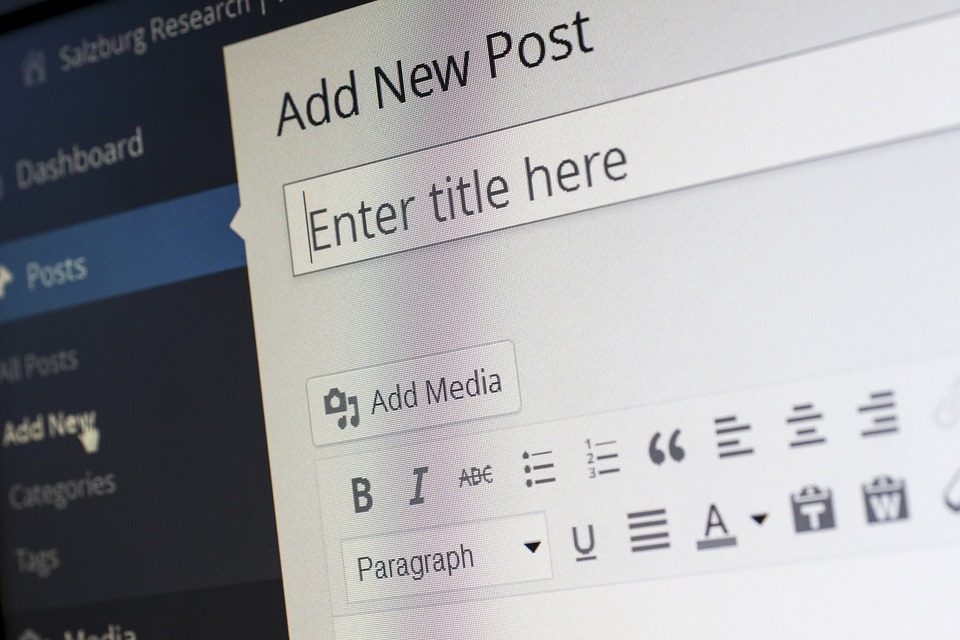
Creating a WordPress website can be an exciting adventure, especially if you’re venturing into the world of DIY (Do It Yourself) website customization. With its user-friendly interface and a plethora of themes and plugins, WordPress allows you to create a unique website tailored to your needs with relative ease. This guide is designed to help beginners navigate the basics of customizing a WordPress site, empowering you to transform your online presence without hiring a developer.
Understanding WordPress Basics
Before diving into customization, it’s important to grasp what WordPress is and how it functions. WordPress comes in two flavors:
- WordPress.com: A hosted solution that includes many limitations on customization and monetization unless you opt for premium plans.
- WordPress.org: A self-hosted platform where you can download the WordPress software and set it up on your web hosting. It offers complete control over your site.
For the purpose of customization, we’ll focus on WordPress.org, as it offers the greatest flexibility.
Step 1: Choose Your Hosting Provider
If you opt for WordPress.org, the first step is selecting a web hosting provider. Popular choices include Bluehost, SiteGround, and HostGator, which often come with one-click WordPress installations. Your hosting provider will be responsible for keeping your site online, so choose one that suits your budget and requirements.
Step 2: Install WordPress
Most hosting services provide an easy installation process for WordPress. Once installed, you’ll gain access to your WordPress dashboard, which is your central hub for site management.
Step 3: Select a Theme
The theme dictates the look and feel of your WordPress site. Here’s how to choose and install one:
- Navigate to Appearance > Themes: In the dashboard sidebar, click on this menu option.
- Browse for Themes: You can explore free themes in the WordPress Theme Directory or upload a premium theme you’ve purchased from platforms like ThemeForest or Elegant Themes.
- Install and Activate: After finding the right theme, click the “Install” button and then activate it.
Step 4: Customize Your Theme
After activating your theme, it’s time to make it your own.
-
Go to Appearance > Customize: This will open the WordPress Customizer where you can tailor various aspects of your site, such as:
- Site Identity: Change the title, tagline, and logo.
- Colors: Adjust colors and typography to match your brand.
- Menus: Create and manage your site’s navigation.
- Widgets: Add dynamic features to your sidebars and footers.
- Homepage Settings: Choose what gets displayed on your homepage.
- Make Use of Theme Options: Some themes come with their own settings panel providing even more customization options. Always explore these additional settings for enhanced functionalities.
Step 5: Add Plugins for Functionality
Plugins extend the capabilities of your WordPress site far beyond its default features. To add a plugin:
- Navigate to Plugins > Add New: You’ll find both free and premium options.
-
Search and Install Plugins: Some essential plugins to consider include:
- Yoast SEO: For search engine optimization.
- Elementor: A drag-and-drop page builder for custom layouts.
- WooCommerce: If you plan to sell products.
- Akismet: Helps protect your site from spam.
- Activate Plugins: Once installed, make sure to activate them so they can function on your site.
Step 6: Create Key Pages
With your design and functionalities in place, it’s time to create essential pages.
- Go to Pages > Add New: Start building out your core pages such as:
- Home
- About
- Services/Products
- Blog
- Contact
- Use the Block Editor: WordPress has a powerful Block Editor that allows you to design pages easily by adding different content blocks (text, images, videos, etc.).
Step 7: Optimize Your Site
Once your site is looking great, it’s crucial to optimize it for performance and SEO:
- Optimize Images: Use image optimization plugins like Smush to reduce file sizes without losing quality.
- Improve Speed: Install a caching plugin like W3 Total Cache to speed up your site loading times.
- SEO Best Practices: Follow the guidelines provided by your SEO plugin to improve your visibility on search engines.
Step 8: Regular Maintenance
Customizing your WordPress site doesn’t stop once it’s live. Regular maintenance is key to ensuring it runs smoothly:
- Updates: Keep your WordPress core, themes, and plugins updated to enhance security and functionality.
- Backups: Use backup plugins like UpdraftPlus to regularly back up your site data.
- Security: Install security plugins like Wordfence to protect against threats.
Conclusion
Customizing your WordPress site can initially seem daunting, but by following these steps, you can build a professional and unique online presence. The key is to take it one step at a time and explore the myriad of customization options available to you. So roll up your sleeves, embrace the DIY spirit, and start creating a website that you can be proud of! Happy customizing!
Contact Us


